Control Robotic Car With Voice
By: Abhinesh Gupta
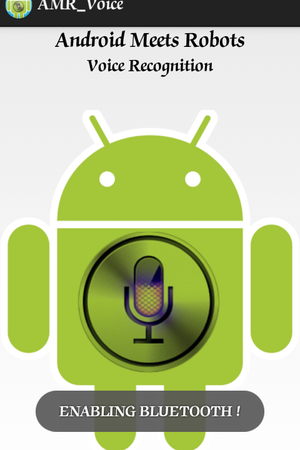
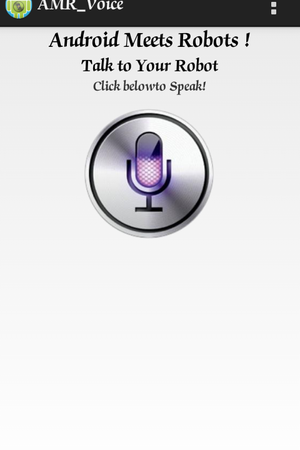
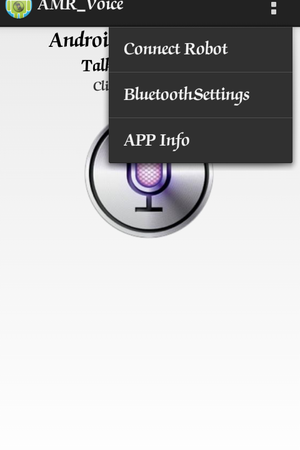
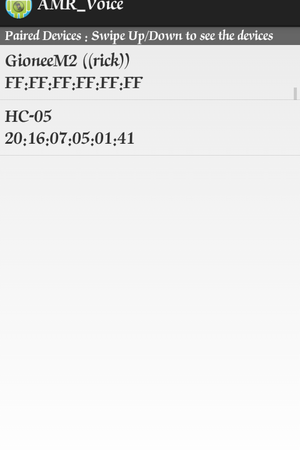
This project describes the implementation of a voice-controlled robotic car using Arduino. In this project, the user gives specific voice commands to the robot through an Android app installed on the smartphone. At the receiving side, a Bluetooth transceiver module receives the commands and forwards them to the Arduino on the robotic car.
Components:
- Arduino Uno
- Breadboard
- Motors x2
- Wheels x2
- Chassis (of appropriate size)
- Voltage Regulator LM7805
- L293D
- 12V battery (power source)
- Jumper wires
- Bluetooth Module HC-05
Idea:
We connect the Bluetooth module with the mobile app. Once done, the commands which we give through the mobile get sent to the Arduino via the module. We accept character by character from the serial buffer sent by the app and combine them to form a string.
We then compare it to the command. If it matches, the command is carried out. For example, when the string we receive is "Right", the bot turns right.
Circuit and working:
The circuit diagram of the receiver side of the robot is shown in Fig.
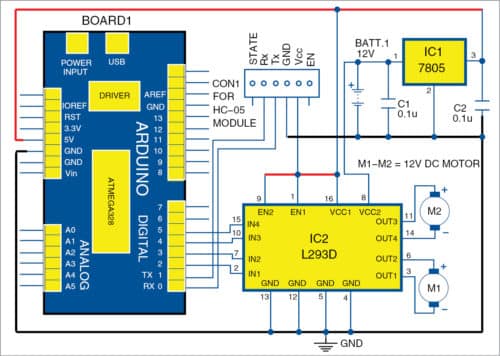
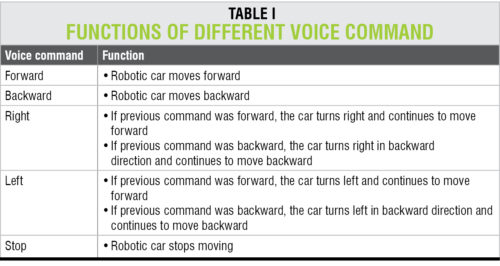
Text received via Bluetooth is forwarded to Arduino Uno board using UART serial communication protocol. Arduino program voice ctrl ino checks the text received and, if it is a matching string, Arduino controls the movements of the robot accordingly. Voice commands used for controlling the robot and their functions are shown in Table I.
About the Testing Code and the App Working Principle
Code:
int motor_input1=11;
int motor_input2=10;
int motor_input3=5;
int motor_input4=6;
String voice;
void setup()
{
Serial.begin(9600);
pinMode(motor_input1, OUTPUT); //RIGHT MOTOR
pinMode(motor_input2, OUTPUT); //RIGHT MOTOR
pinMode(motor_input3, OUTPUT); //LEFT MOTOR
pinMode(motor_input4, OUTPUT); //LEFT MOTOR
}
void loop()
{
while(Serial.available()>0)
{
delay(10);
char c=Serial.read();
if(c=='#')
{
break;
}
voice+=c;
}
if(voice=="forward"){
digitalWrite(motor_input1, LOW);
digitalWrite(motor_input2, HIGH);
digitalWrite(motor_input3, LOW);
digitalWrite(motor_input4, HIGH);
delay(5000);
}
else
if(voice=="back"){
digitalWrite(motor_input1, HIGH);
digitalWrite(motor_input2, LOW);
digitalWrite(motor_input3, HIGH);
digitalWrite(motor_input4, LOW);
delay(5000);}
else
if(voice=="left"){
digitalWrite(motor_input1, LOW);
digitalWrite(motor_input2, HIGH);
digitalWrite(motor_input3, HIGH);
digitalWrite(motor_input4, LOW);
delay(800);
}
else
if(voice=="right"){
digitalWrite(motor_input1, HIGH);
digitalWrite(motor_input2, LOW);
digitalWrite(motor_input3, LOW);
digitalWrite(motor_input4, HIGH);
delay(800); }
if(voice.length()>0)
{
Serial.println(voice);
voice="";
digitalWrite(motor_input1, LOW);
digitalWrite(motor_input2, LOW);
digitalWrite(motor_input3, LOW);
digitalWrite(motor_input4, LOW);
}
}
Qualification: Pursuing B. Tech. in Computer Science.

